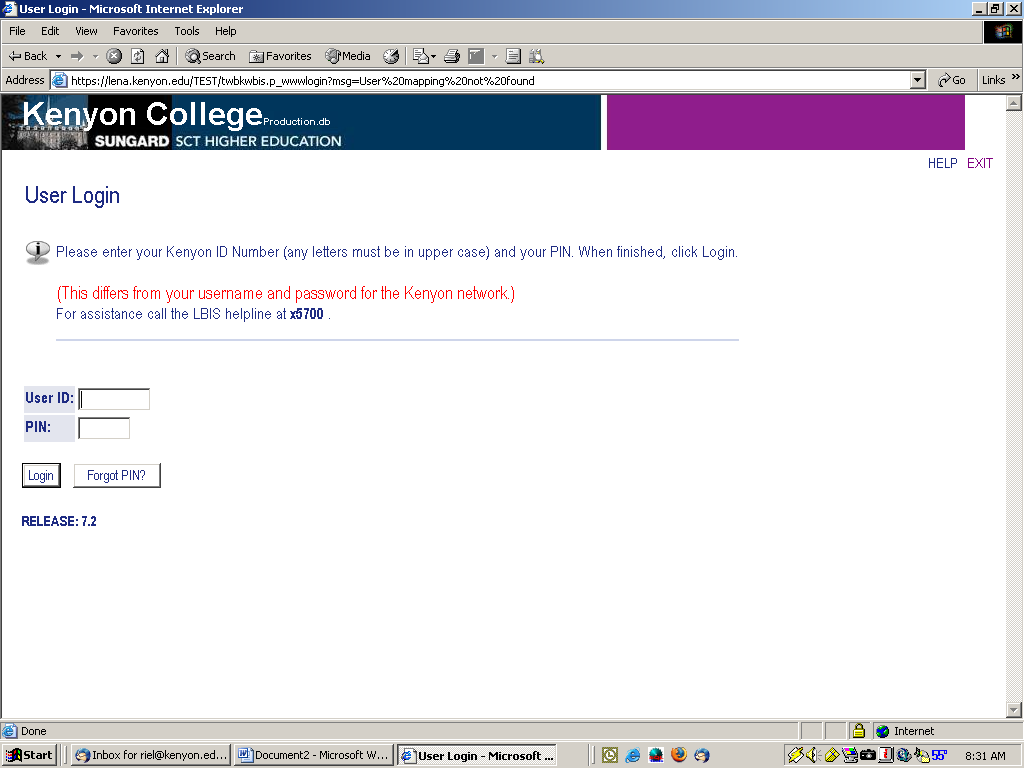
First, go to Employee Self Service at mybanner.kenyon.edu.
Enter your user ID (employee ID) and PIN; call the Helpline at 740-427-5700 if you forget your PIN.
Once you submit your user ID and PIN, you will be at the Main Menu. Click on "Employee" in the left-hand menu.
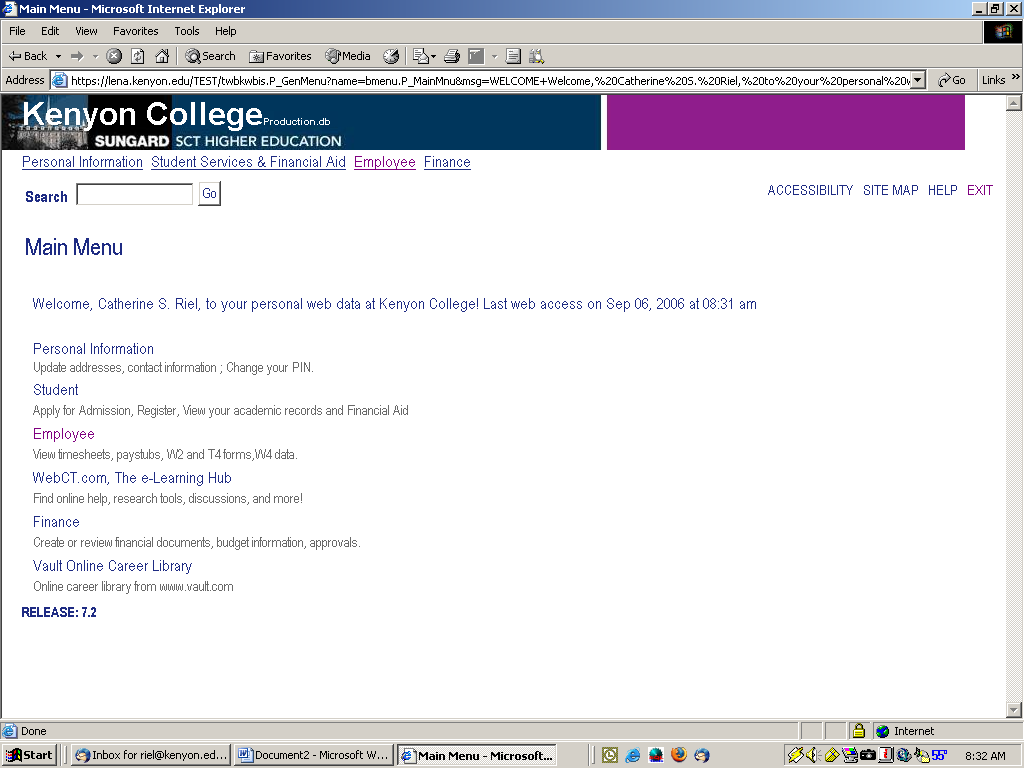
Within the Employee menu, you will have several options. Click on "Time Sheet."

All approvers must create at least one proxy. A proxy can fill in for you and approve time sheets in your absence. Click on "Proxy Set Up."
If you have a proxy, you will see your proxy’s name on the screen. To add a proxy, simply choose the name of your proxy from the drop down box provided and click the "Add" button then "SAVE." You may have more than one proxy if needed.
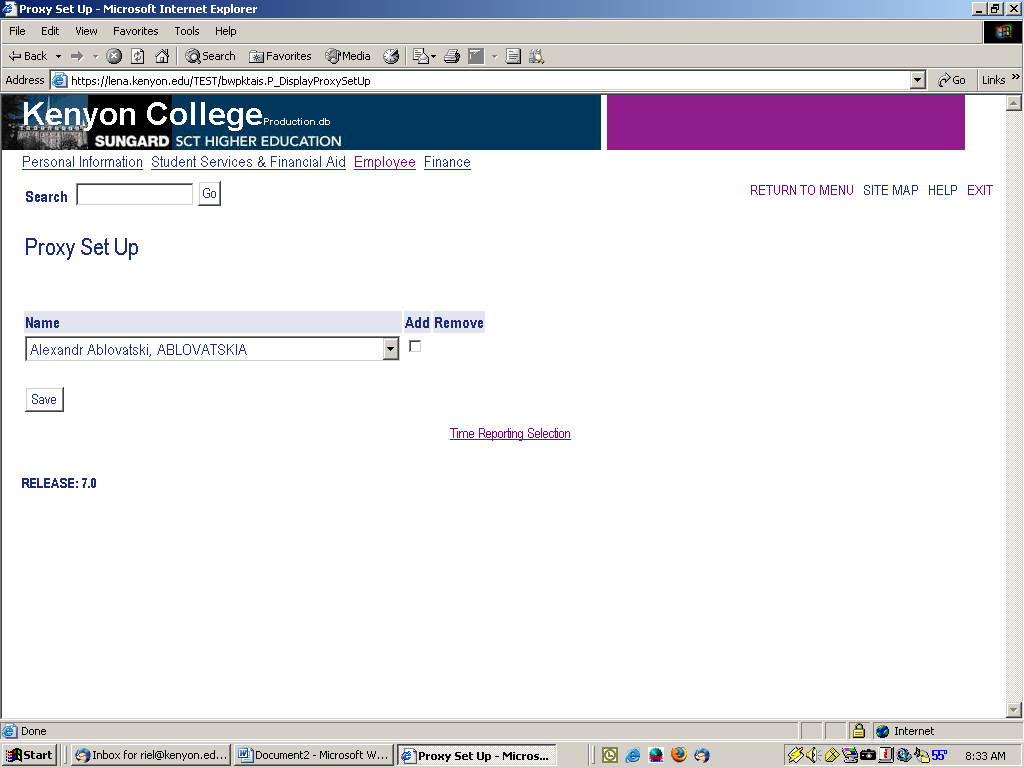
When you have completed adding your proxy, click on the "Time Reporting Section" option at the bottom of your screen.
Then click on the "Select" button to begin the time sheet approval process.
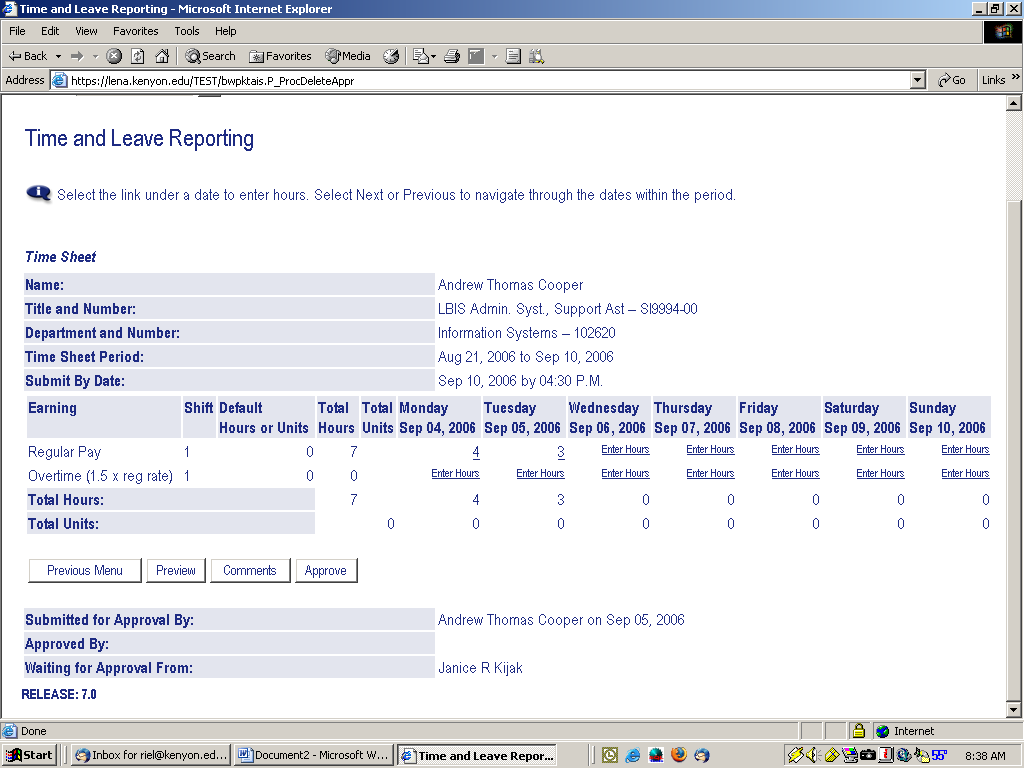
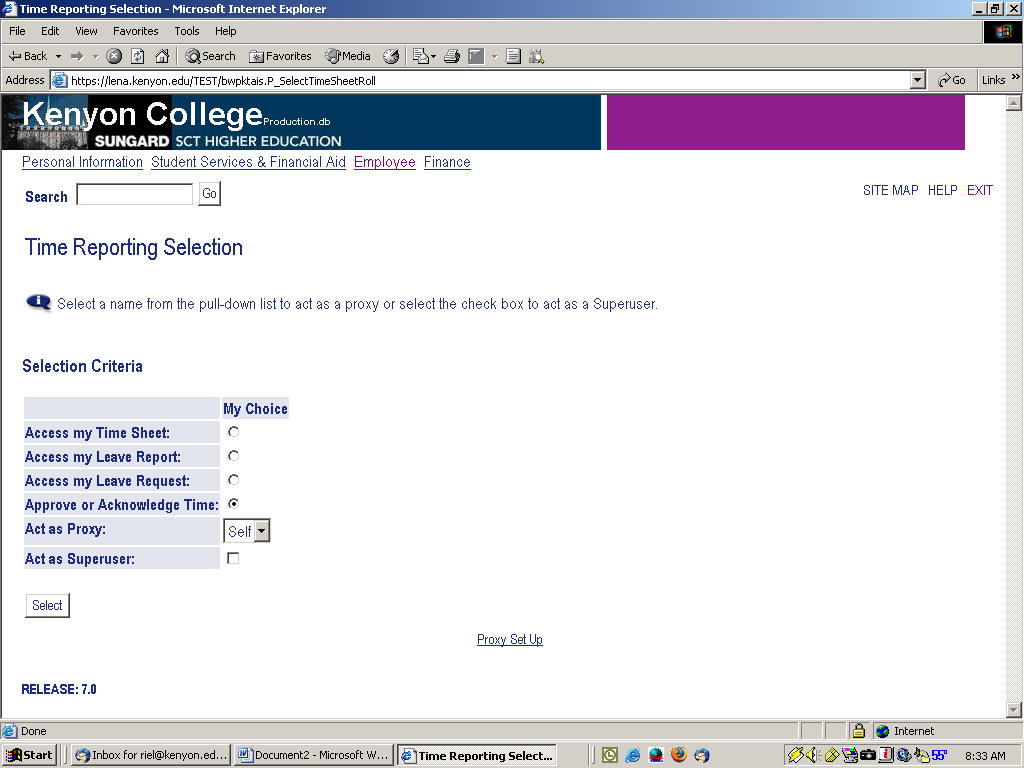
You are now at the Time Sheet screen.

Click on the button for "Approve or Acknowledge Time."
Select "Self" and click on the "Select" button.
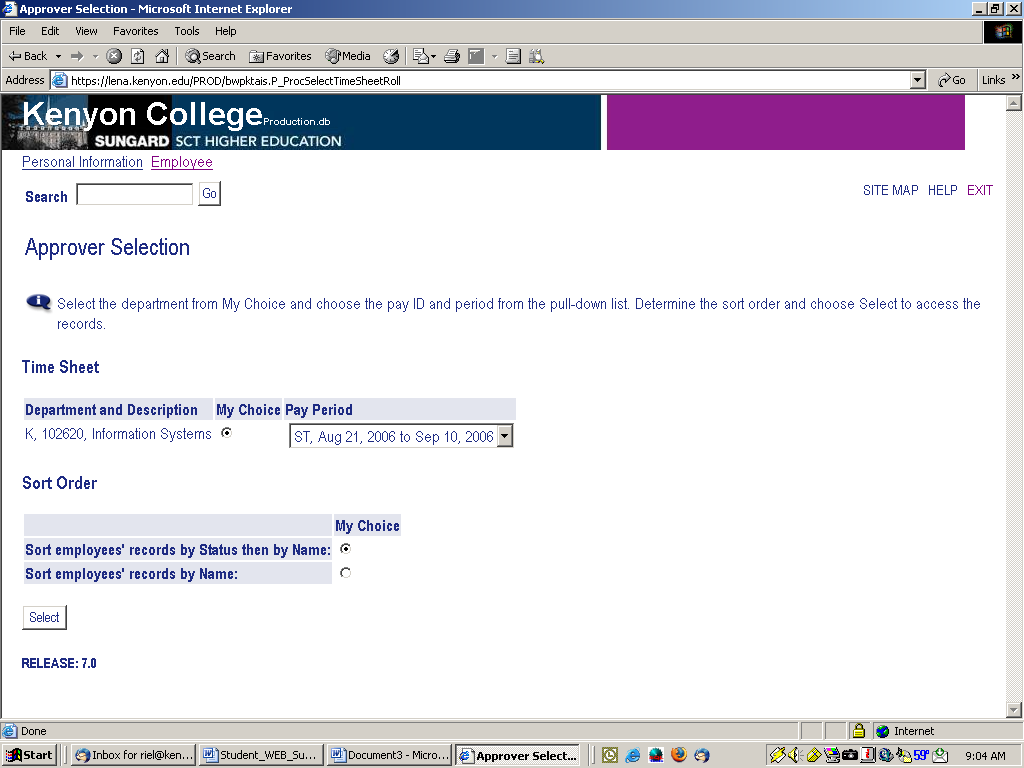
There are two options: "Time Sheet" and "Sort Order." Click on the drop down menu arrow for "Pay Period and Status," choose the current pay period.
Under "My Choice," click the button for your department. You can sort time sheet by status or by name. Click the "Select" button in the lower left corner.
You are now at the summary screen. You can review total hours worked by each student on the summary screen. To view the time sheet detail, click on the student’s name.
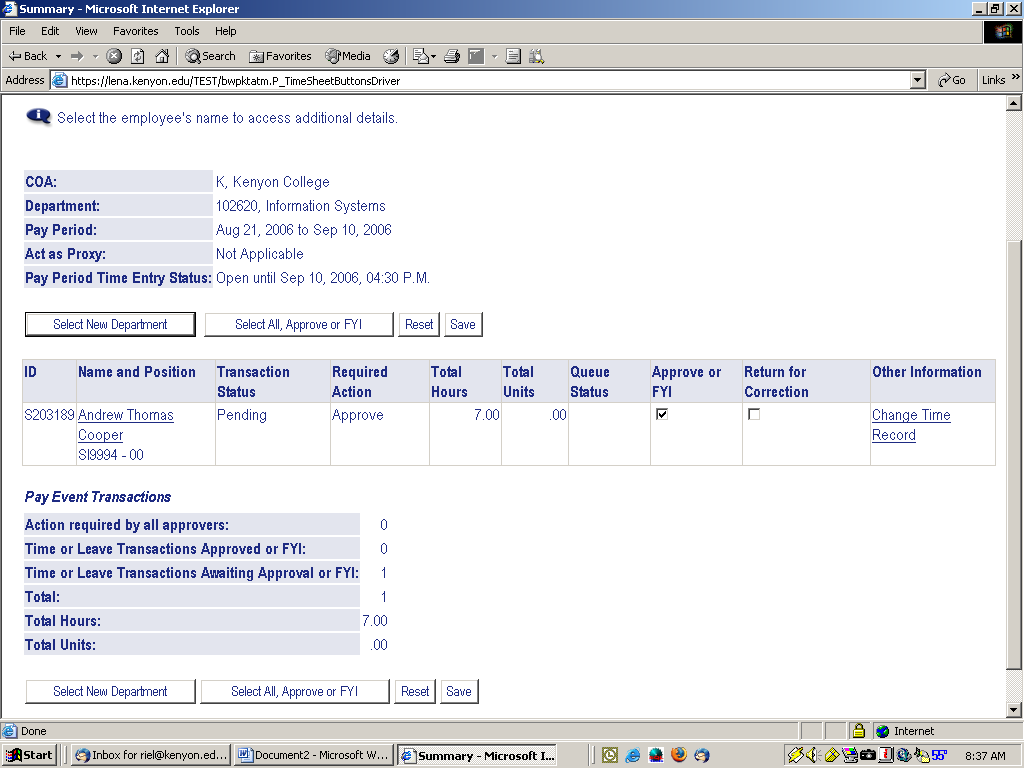
There are a few ways to approve time sheets. First, you can click on each name, view the detailed time sheet, and then click on the "Approve" button. Second, you can view hours worked for each student on the summary screen, view individual time sheets to see details as needed, and then go back to the summary screen and click on "Approve or FYI" for each student time sheet. Lastly, if you will be approving ALL time sheets, you can click on "Select All, Approve or FYI." This will click all time sheets on the summary screen as approved.
Then click "Save" to submit the final approvals. Approval of time is completed.
If a time sheet needs correction
To correct a time sheet, click "Change Time Record" at the summary screen.
Make the correction and save the record. Click "Previous Menu" then click "Comments."
Enter a comment explaining the correction to your student. Click "Save" to save the comment. Click "Previous Menu" twice and you will be back at the summary screen.
IMPORTANT: Students are NOT automatically sent an email letting them know their time sheet was changed or that a comment exists on their time sheet. Please explain the change that you made or send them an email explaining the change.